SFM Compile is the process of preparing and converting files in Source Filmmaker so they work correctly and can be exported as a final video. It includes turning models, textures, and animations into engine-ready formats and rendering the finished scene. This step ensures your project runs smoothly, looks correct, and can be shared without errors.
Introduction
When people start using Source Filmmaker, they often focus on animation, camera angles, and storytelling. However, many feel stuck when they reach the stage called SFM Compile. It sounds technical, but it is actually simple once you understand the basics.
Think of it as the final preparation step that turns your creative work into something usable. Without it, your models may not appear, textures may break, and your video may not export properly.
This guide explains everything in a clear and easy way. Whether you are a beginner or someone improving your skills, you will find practical knowledge that helps you work with confidence.
What Is SFM Compile
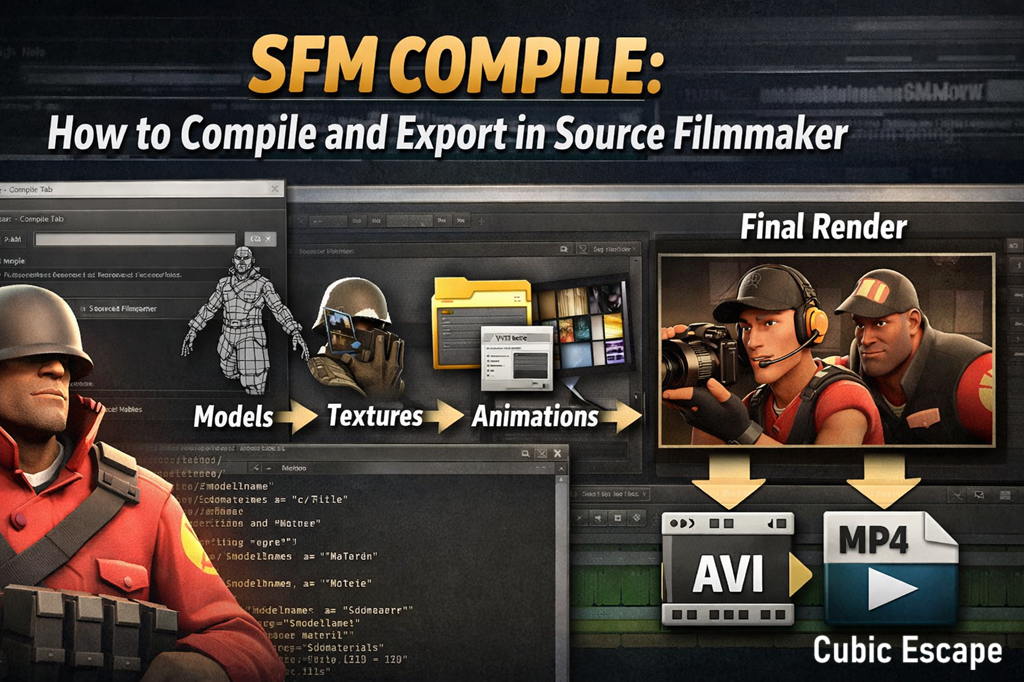
SFM Compile means preparing and converting your files so Source Filmmaker can understand and use them. It also includes exporting your finished animation into a video or image sequence.
You usually deal with two main areas:
Asset Preparation
You convert files like:
- 3D models
- Textures
- Animations
into formats that the Source engine supports.
Final Output
You export your completed project into a video file such as AVI or a series of images.
So, this process connects your raw work to a finished result.
Why SFM Compile Matters
Many beginners skip learning this step, but it plays a key role in your success as a creator.
It Makes Your Project Work
All parts of your project must connect properly. Compile ensures that models, textures, and animations work together.
It Prevents Visual Problems
If you skip proper steps, you may see:
- Pink or black textures
- Missing models
- Broken animations
It Improves Performance
Well prepared files run smoothly inside the engine and reduce crashes.
It Allows Final Export
Without this step, you cannot create a proper video output.
In short, SFM Compile turns your idea into a complete and working creation.
How Source Filmmaker Uses Compiled Data
Source Filmmaker works on the Source engine, which needs structured data. It cannot read random file types directly.
For example:
- Models must be in a specific format
- Textures must follow engine rules
- Animations must match model structure
When you compile, you organize all this data so the engine can load it correctly. This is why your project becomes stable and reliable.
Types of SFM Compile You Should Know
The process includes different parts depending on your project.
Model Compilation
This prepares your 3D model so it can appear and move correctly in the scene.
Texture Preparation
Textures are adjusted so they display properly on surfaces. This affects how your scene looks.
Material Setup
Materials define how textures behave, such as shine, light reflection, and transparency.
Animation Linking
Animations must connect to models so movements play correctly.
Scene and Map Setup
If you use custom maps, they must be prepared so SFM can load them without issues.
Final Rendering
This is the last step where your animation becomes a video or image sequence.
Each part adds a layer of stability and quality to your work.
SFM Compile Workflow Explained Simply
Here is a clear way to understand the full process.
| Step | What Happens | Why It Matters |
|---|---|---|
| Prepare files | Gather models, textures, animations | Keeps project organized |
| Check paths | Ensure files link correctly | Prevents missing assets |
| Convert formats | Adjust files for engine use | Makes them readable |
| Compile assets | Process files into final form | Enables smooth loading |
| Test in SFM | Check for errors | Fix issues early |
| Export project | Create final video | Share your work |
This workflow helps you stay consistent and avoid mistakes.
Tools Commonly Used in SFM Compile
You do not need many tools, but a few are very helpful.
| Tool | Use |
|---|---|
| Crowbar | Compile and manage models |
| StudioMDL | Core tool for model processing |
| VTFEdit | Convert texture files |
| Hammer Editor | Create and compile maps |
| Text Editor | Write and edit configuration files |
Each tool plays a specific role, and together they make the process easier.
Step by Step Guide for Beginners
If you are new, follow this simple method.
Step 1: Organize Your Files
Place your files in clear folders like models, materials, and animations.
Step 2: Check File Names
Use simple and clear names. Avoid spaces and confusing words.
Step 3: Prepare Textures
Convert images into the correct format so they display properly.
Step 4: Use a QC File
This file gives instructions for compiling models. It tells the system how everything connects.
Step 5: Run the Compile Tool
Use a tool like Crowbar to process your files.
Step 6: Test Your Assets
Open SFM and check if everything works correctly.
Step 7: Export Your Video
Once satisfied, export your project into a video or image sequence.
This process becomes easier with practice.
Common Problems and Simple Fixes
Even experienced creators face issues. Here are easy solutions.
Missing Textures
If surfaces look pink or black, check texture paths and file names.
Model Not Showing
Make sure your model is placed in the correct folder and compiled properly.
Compile Errors
Always read error logs. They often tell you exactly what went wrong.
Animation Not Working
Check if the animation matches the model and is correctly linked.
Solving these problems improves your workflow and confidence.
Best Practices for Smooth Results
Good habits make a big difference.
Keep Everything Organized
Use clear folder structures. It saves time and prevents confusion.
Work Step by Step
Do not rush. Complete one step before moving to the next.
Test Frequently
Check your work often to catch problems early.
Use Simple Settings First
Start with basic settings before trying advanced features.
Save Backups
Always keep a copy of your files in case something goes wrong.
These practices help you avoid frustration and stay productive.
Advanced Tips to Improve Quality
Once you understand the basics, you can improve your results further.
Use Image Sequences
They give better quality and reduce the risk of losing your work.
Adjust Lighting Carefully
Good lighting makes your animation look more realistic and professional.
Optimize Performance
Remove unused assets and keep your scene clean.
Choose Proper Export Settings
Select the right resolution and frame rate based on your platform.
These small improvements can make a big difference in your final output.
SFM Compile vs Rendering
Many people think both are the same, but they are different.
| Feature | Compile | Render |
|---|---|---|
| Purpose | Prepare files | Create final visuals |
| Timing | Before export | During export |
| Result | Ready project | Finished video |
Understanding this difference helps you work more efficiently.
Final Thoughts
SFM Compile may seem complex at first, but it becomes simple once you understand the flow. It is not just a technical step. It is the bridge between your creative idea and a finished animation.
When you learn how to handle this process:
- Your projects become stable
- Your visuals improve
- Your workflow becomes smooth
Over time, this step will feel natural, and you will focus more on creativity instead of fixing errors.
Read More👉 TheJavaSea.me Leaks AIO-TLP370 Explained and Safety Guide